I broke my bike. Woody has, in fact, splintered. I decided to ride it like a mountain bike, and it was most decidedly not designed to be ridden like that and I snapped the head tube straight out of the frame.
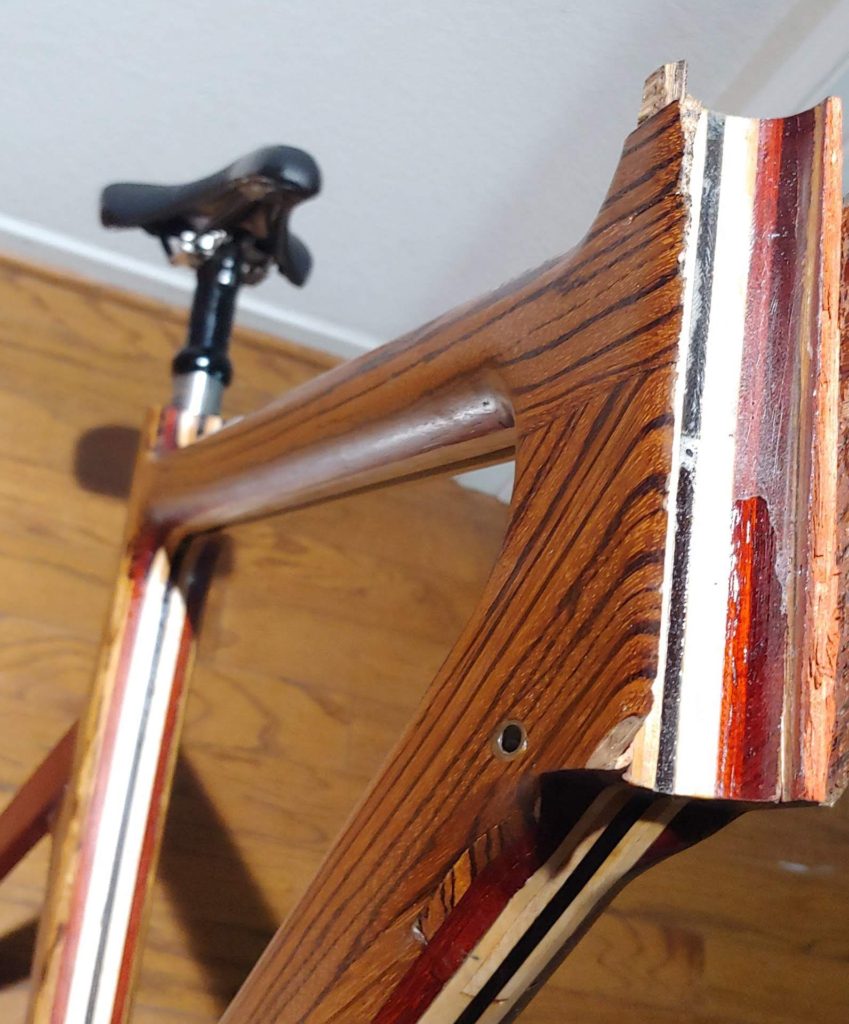
The place where the head tube used to be. Note the incomplete epoxy joint in the lower half where the head tube should have been bonded to the frame. 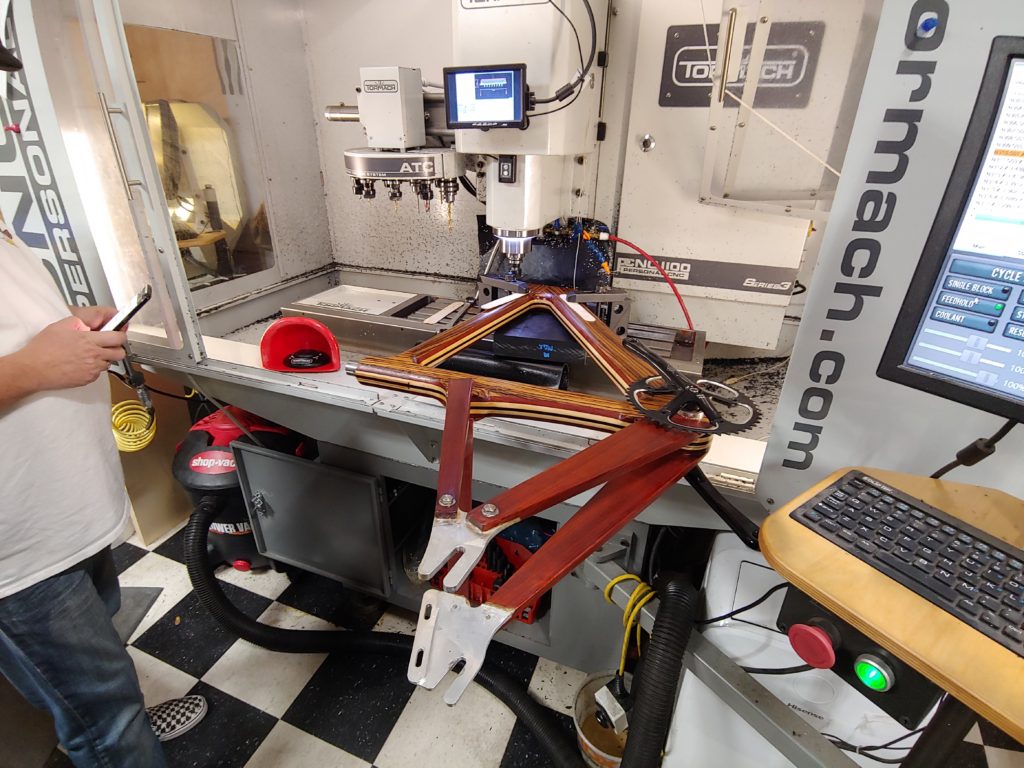


So what happened? Well part of the problem was design flaw, and part of it was manufacturing defect, and part was user error. This is the part where the user points at the designer, the designer points at the manufacturer, and the manufacturer points at the user and they all say “Your fault!”, but in this instance they are all me. Whoops.
Interestingly the failure happened almost entirely in the epoxy between two layers. Generally speaking, modern wood adhesives, when properly used, form a joint that is stronger than the base wood. This means that failure will occur near to, but not in, the glue joint. Here this was not the case. I suspect some of that has to do with the particular wood species in the bike, some of it with the grain orientation being orthogonal across the glue-line, and some of it with insufficient clamping during cure (the vacuum bag lost pressure over night).
So, how do we fix something like this? Well, obviously the design needs a little rethinking and the cracked wood needs to be machined away. A repair piece needs to be made and installed and then the bike will need refinishing, at least in the head tube region.
Ideally the fibers in the wood (read “grain” for you woodworkers out there) would wrap around the head tube continuously and integrate with the top tube and down tube. Because trees don’t grow in 2 inch outer diameter circles (they grow generally straight up in case you were wondering) we need some way to bend the wood. This has been a problem that all woodworkers will run into at some point, and there exist many ways to accomplish this task: steam bending, kerf bending, bent lamination, and hot pipe bending to name a few.
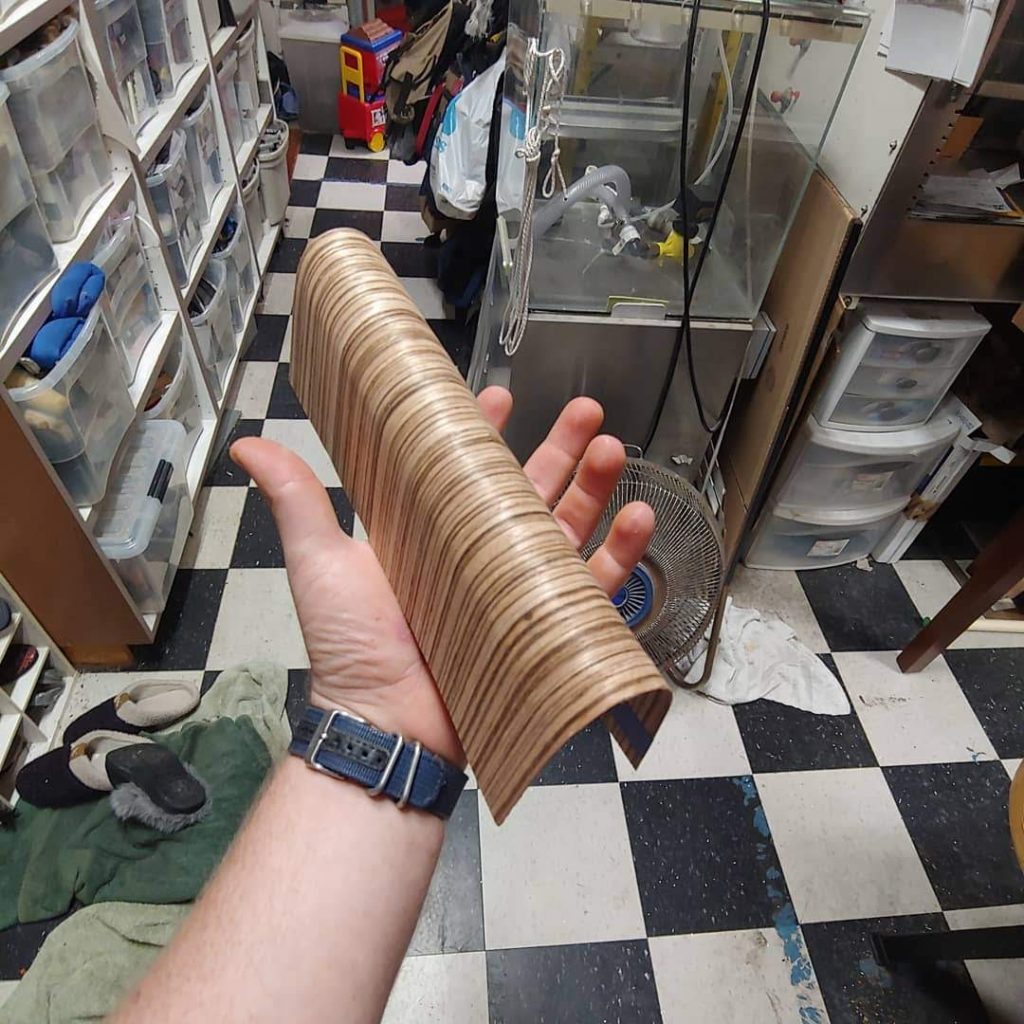
For my fix I turned to a combination of hot pipe bending and bent lamination. The hot pipe bending gets the layers that I need to bend close to the final radius and then using lamination, I get exactly the dimensions I want and a final piece that won’t spring back at all.


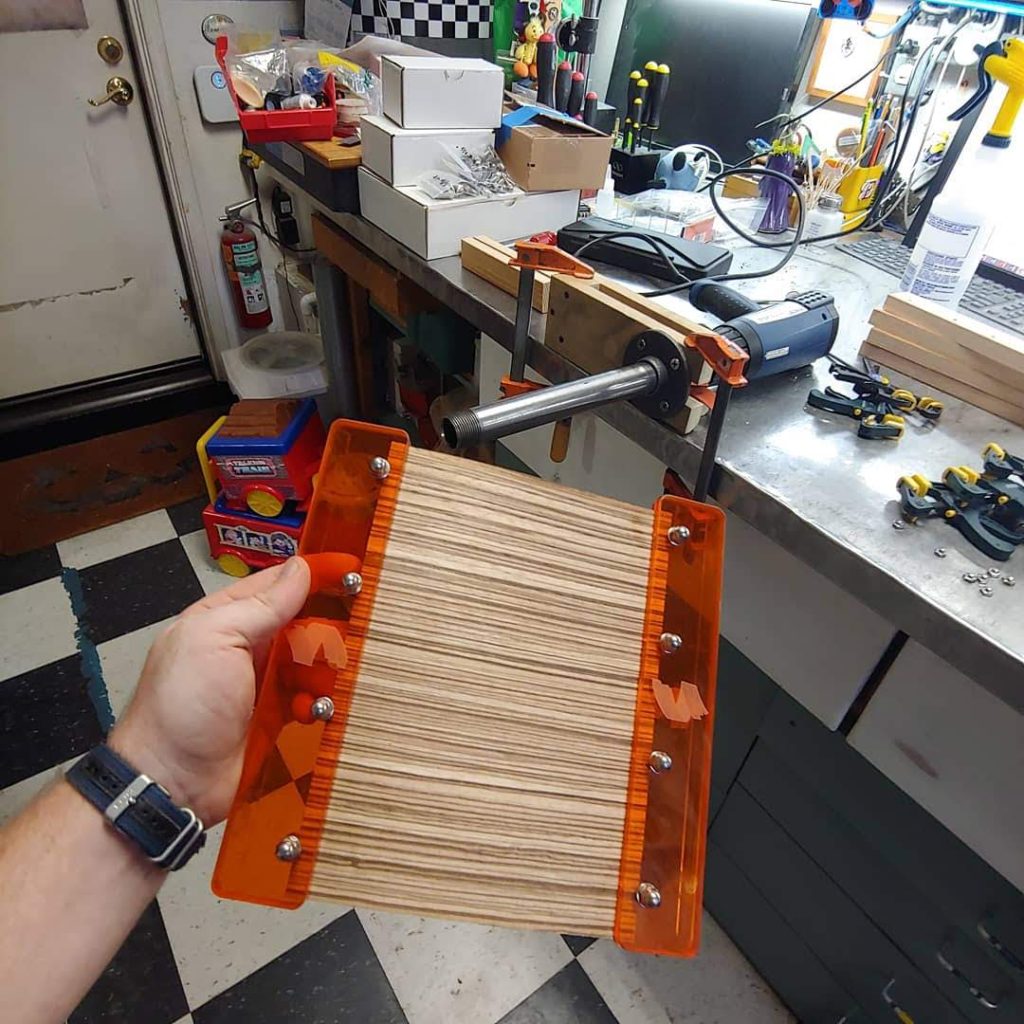
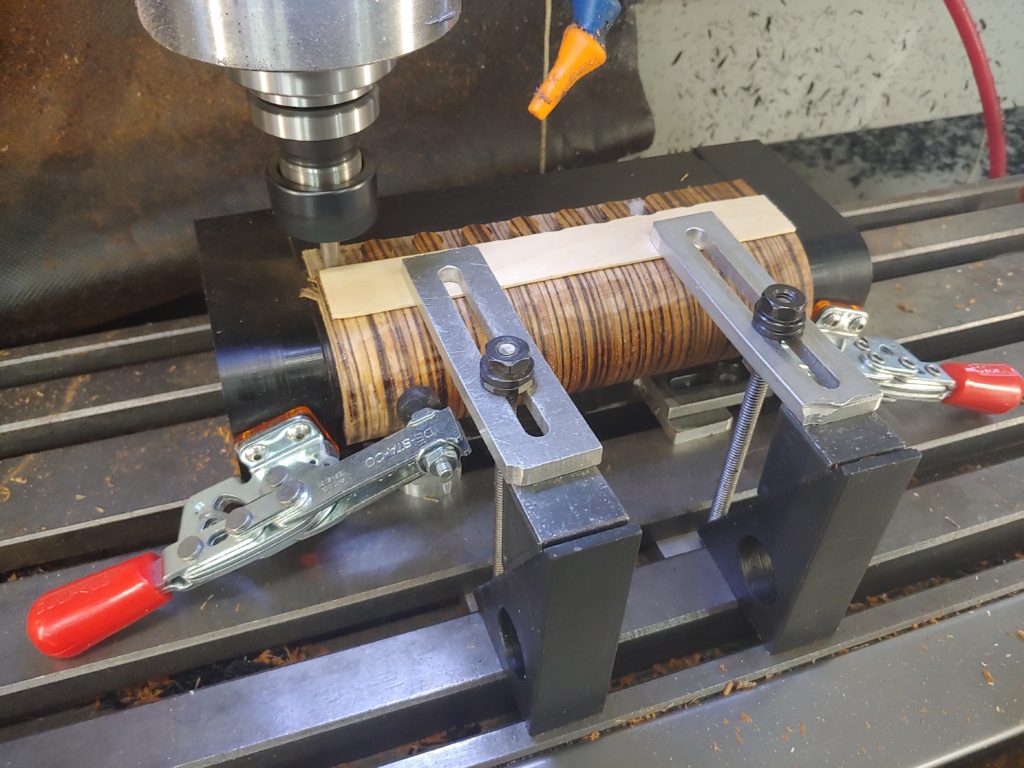
I hot pipe bent 10 layers of zebrawood veneer and then glue-lammed them over a delrin form that I machined on a Tormach PCNC 1100. Pretty much nothing sticks to delrin, so it makes an ideal form material where epoxy is going to be involved and in contact with the form.
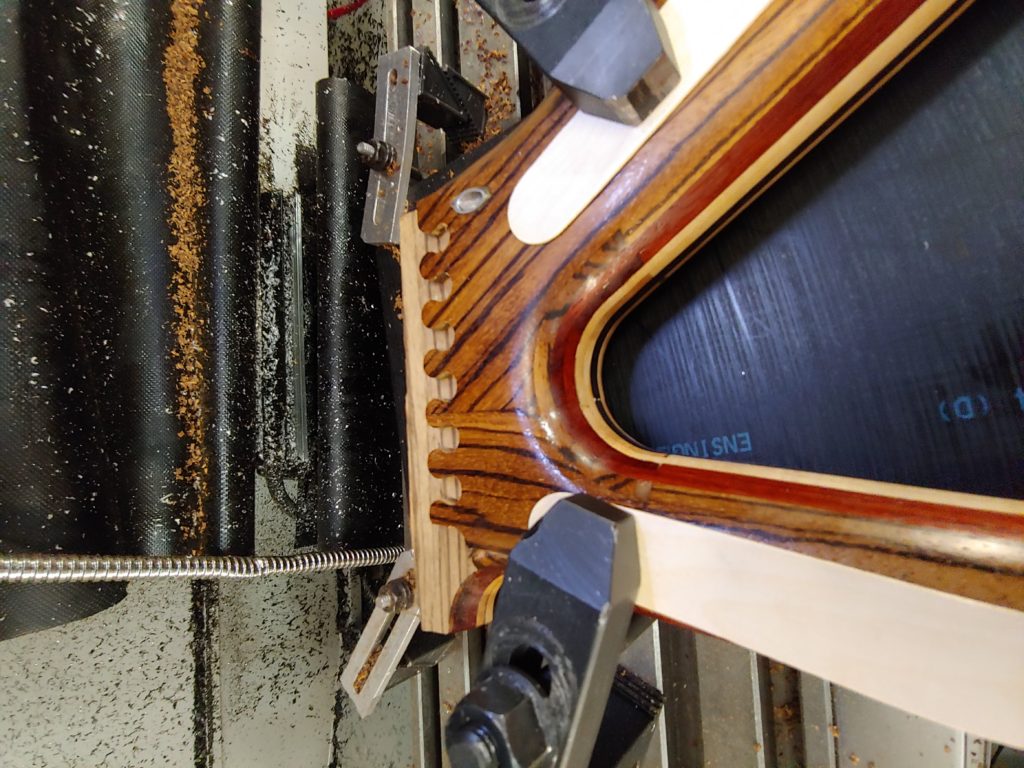
After laminating I used the same form, along with a couple more pieces that I machined, as a fixture to hold the now U-shaped piece in the Tormach so that I could machine some isolock joints into both legs of the U-shape.

I also used the Tormach to machine the matching isoloc joints in to the bike frame. The setup was somewhat precarious, but the results were great.

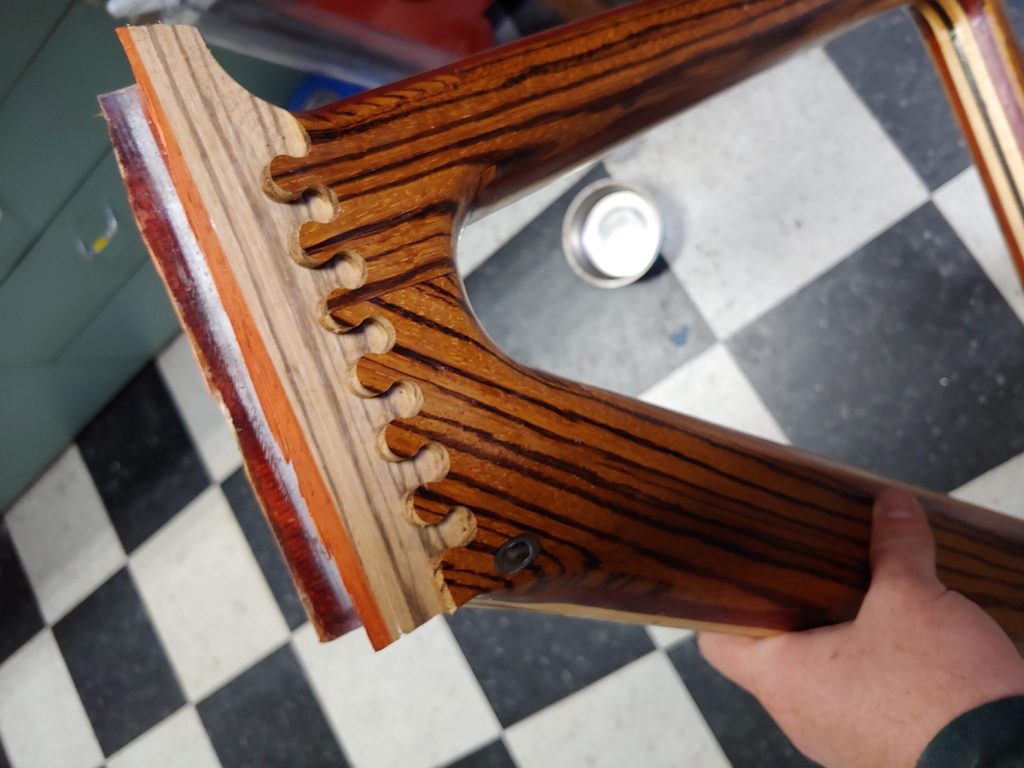
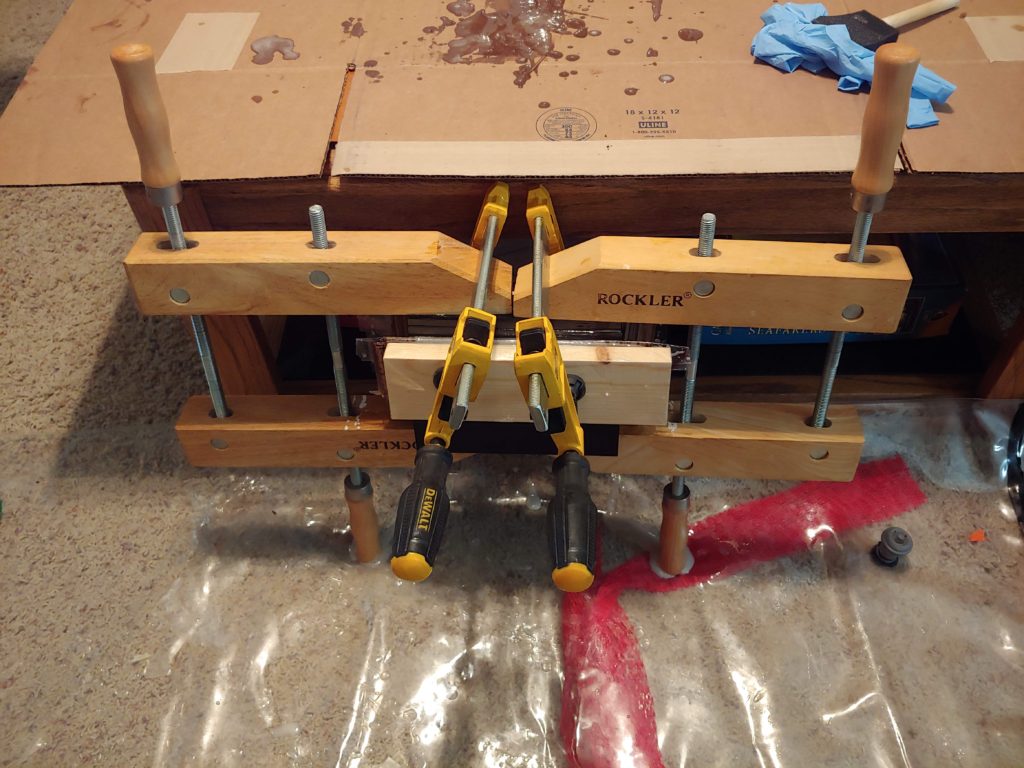
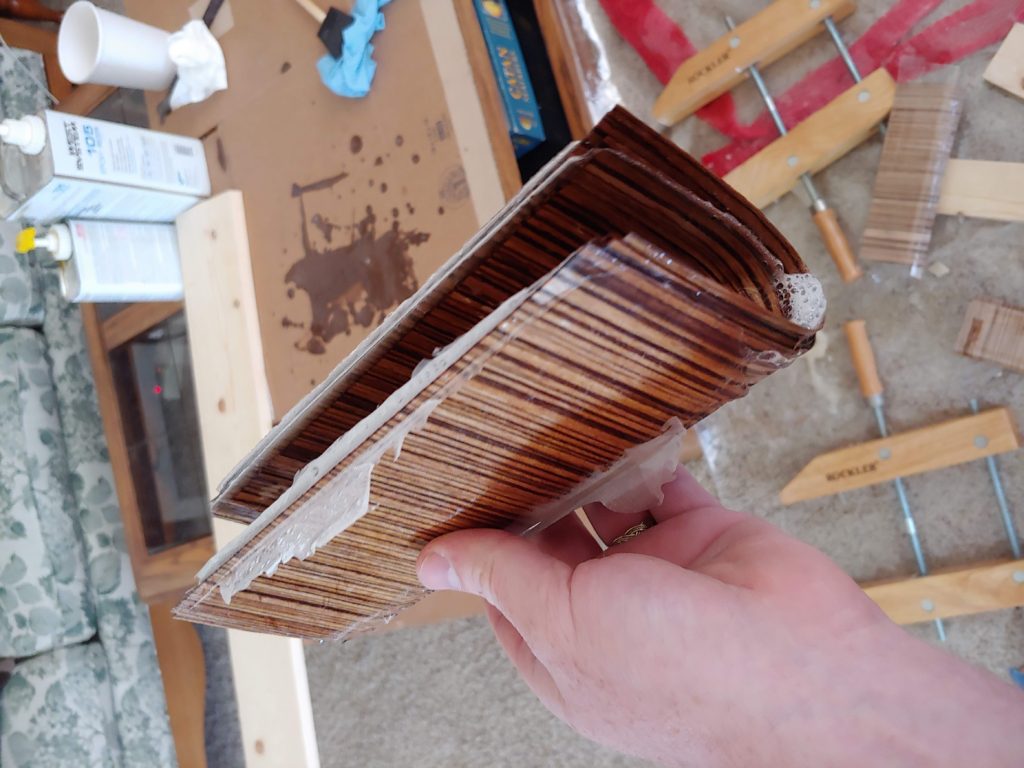
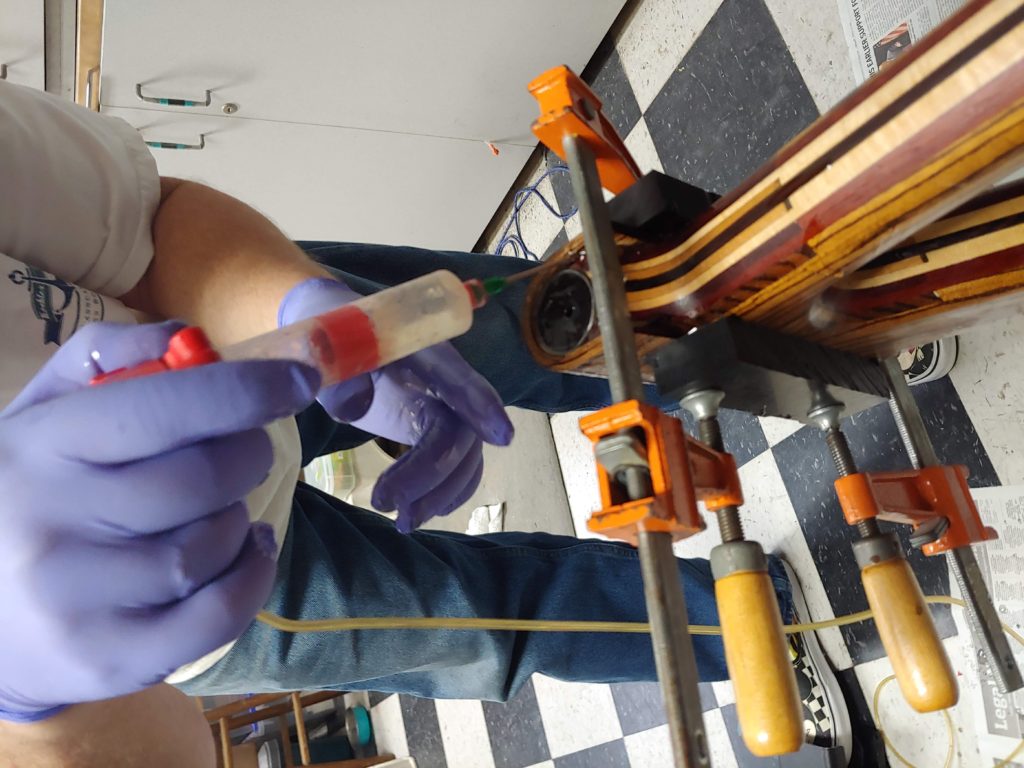
After cutting the joints I made a wedge that fit inside the U-shaped laminate to spread it enough to snap into place on the frame. Before aligning the isoloc fingers, with help from my dad, I used a pneumatic syringe to squirt epoxy into all the joint surfaces.
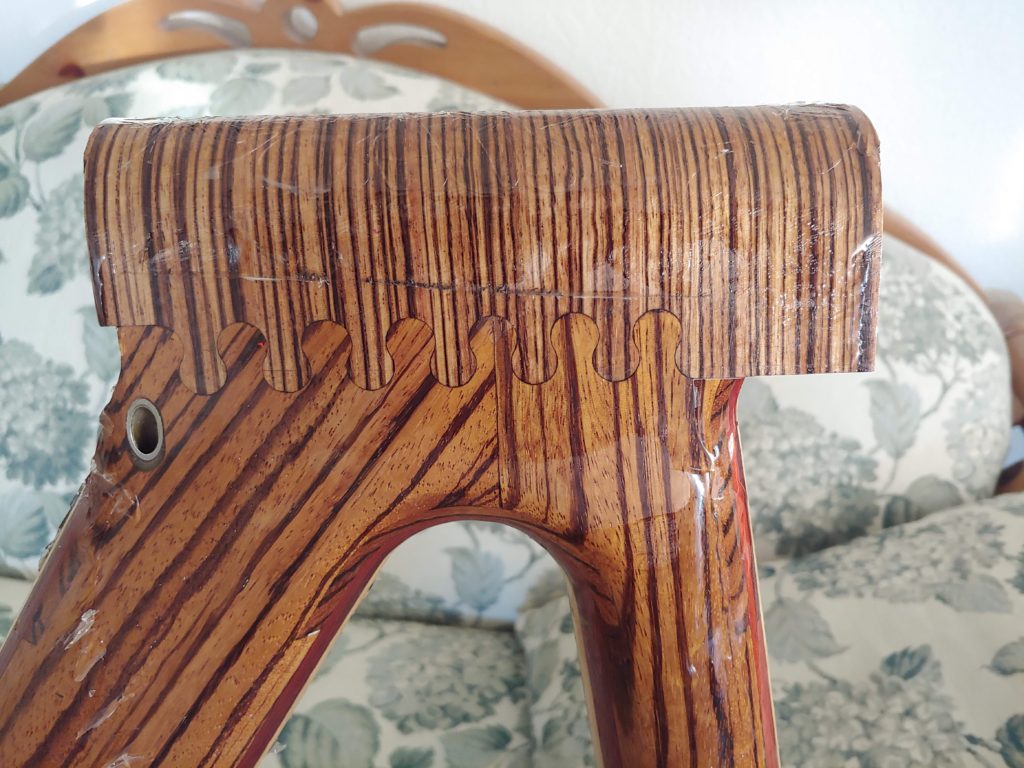
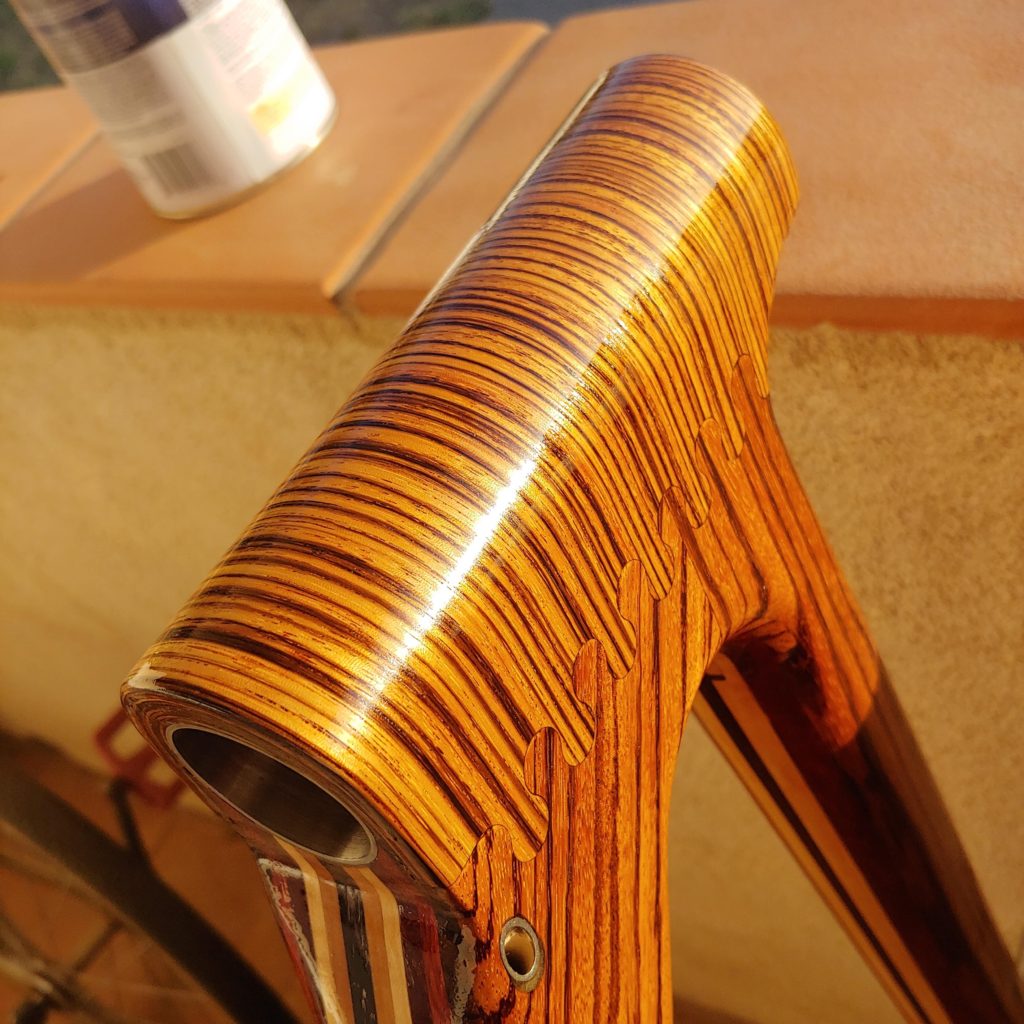
So how did it turn out?

It needed some cleanup and shaping, but I’m very pleased with the way it fit together and am confident in the strength of the repair. It should be stronger than the original.
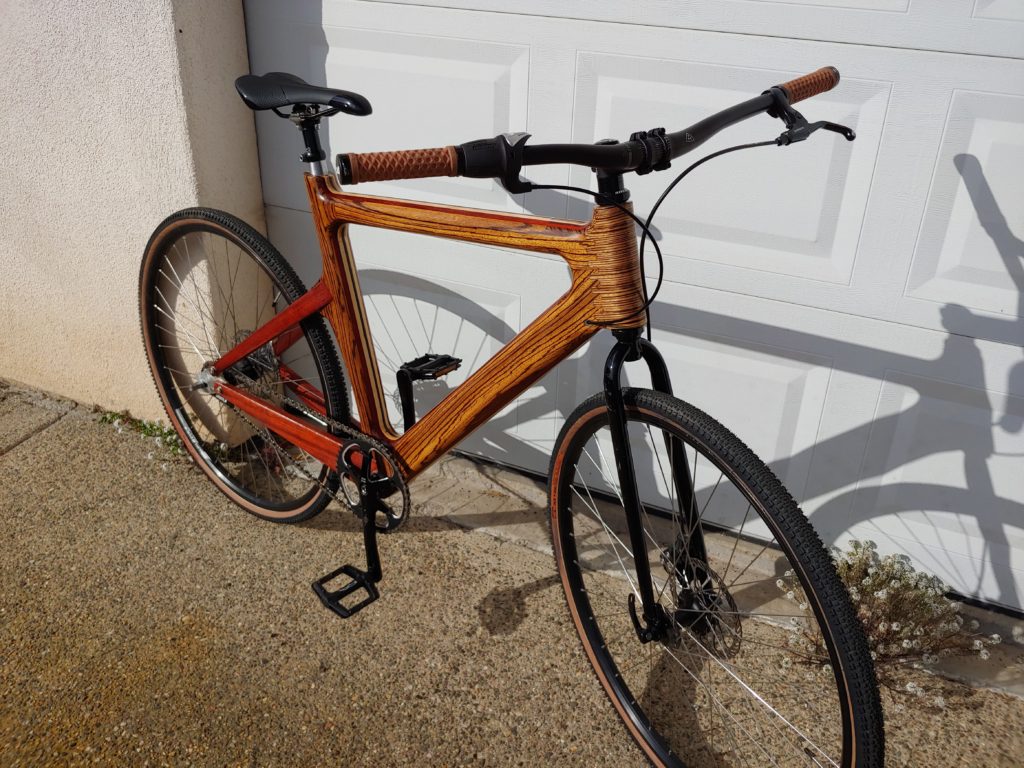
I’ve been riding the bike for a few months now after repairing it, and have had no issues. The repair looks, and functions perfectly. I’m glad it happened on this bike before I built the hardtail.